
Transporting FPV gear is a constant headache. Drones, goggles, batteries, tools, and spare parts end up jumbled in a generic backpack, and every time you pull something out you worry about bent props or scratched lenses. The solution? Design and 3D print a custom FPV backpack insert system that fits your exact gear and your exact backpack. Here is how to do it from concept to finished product.
Design Philosophy: Modular Over Monolithic
A single giant insert is a bad idea. It wastes filament, takes forever to print, and cannot adapt if you switch backpacks or change your loadout. Instead, design modular compartments that snap or slide together. This way you can reconfigure for a quick session (one drone, four packs, goggles) or an all-day outing (two drones, charger, twelve packs, tools).
Measuring and Modeling
Start with your backpack empty and measure the internal dimensions with a fabric tape — width, depth, and height at multiple points since backpacks taper. Measure each piece of gear: drone with props folded, goggles with antenna removed, batteries (allow extra room for wires), and your transmitter with sticks installed.
In Fusion 360 or Onshape, create a sketch of the backpack floor plan. Place component footprints with 3mm clearance on all sides for easy insertion and removal. Extrude the walls to the height of your tallest component plus 10mm for a lid clearance gap. Add 45-degree chamfers to the top edges of dividers — this makes sliding gear in and out effortless.
Compartment Design
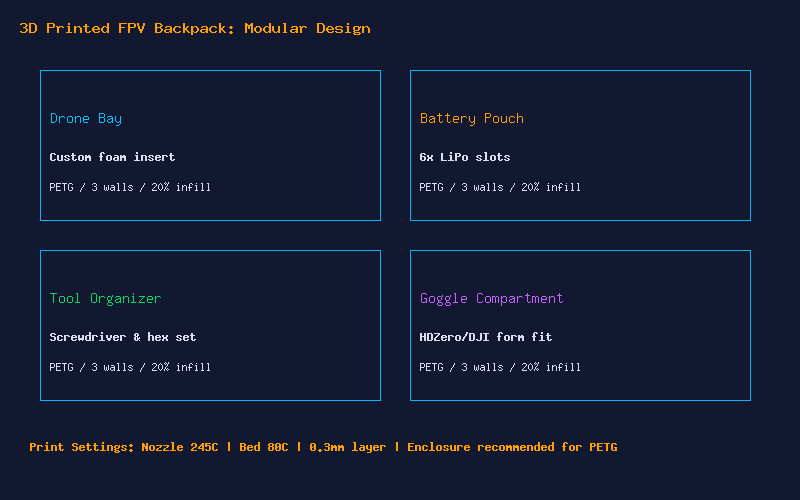
Drone Bay: The trickiest compartment. Design a TPU cradle that supports the quad by the arms, not the bottom plate. This keeps props off any surface and prevents deformation of the frame during transport. Add a Velcro strap slot through the base to secure the quad.
Battery Pouch: Six individual slots sized for 6S 1300mAh packs. Add 1mm extra width per slot because LiPos swell slightly after use. Print in PETG for rigidity. Consider adding a small ventilation hole pattern at the bottom.
Goggle Compartment: Model this to the exact curves of your goggle faceplate. Use the “Canvas” feature in Fusion 360 to trace a photo of your goggles. Line the inside with 2mm self-adhesive foam for extra scratch protection.
Tool Organizer: A flat tray with hexagonal cutouts sized for M2 and M3 drivers, a slot for needle-nose pliers, and a small bin for screws and standoffs.
Print Settings and Materials

Use PETG for all structural parts — it handles the flexing of a backpack better than PLA and will not warp in a hot car. Print at 245°C nozzle, 80°C bed, 0.3mm layer height for speed on large flat parts, and 0.2mm for detailed divider walls. Use 3-4 perimeters and 20-25% gyroid infill. An enclosure helps with PETG, but is not required for these parts.
For the drone cradle and any flex elements, use TPU 95A at 230°C with the bed at 0-30°C (TPU hates heated beds on smooth PEI — use glue stick as a release agent). Print slowly, 20-25mm/s with disabled retraction.
Assembly and Finishing
Install M3 heatset inserts at 210°C using a soldering iron with a flat tip. Bolt modules together with M3x12 socket head screws. For dividers that need to be removable, use a friction-fit dovetail design — no hardware needed. Add self-adhesive rubber feet to the bottom plate so the insert does not slide inside the backpack.
Total print time is around 28 hours across all parts, using approximately 600g of PETG. At $20 per kilogram, that works out to roughly $12 in filament. Compare that to a commercial FPV backpack insert at $60-120, and you have not only saved money but created something perfectly custom to your gear.