
Introduction
3D printing has revolutionized the FPV drone hobby by enabling pilots to design, iterate, and produce custom parts at home. From flexible TPU antenna mounts to experimental frame designs, a 3D printer is arguably the most valuable tool in any FPV builders workshop. This guide covers materials, design principles, and proven workflows for printing FPV drone components.
Choosing the Right Filament
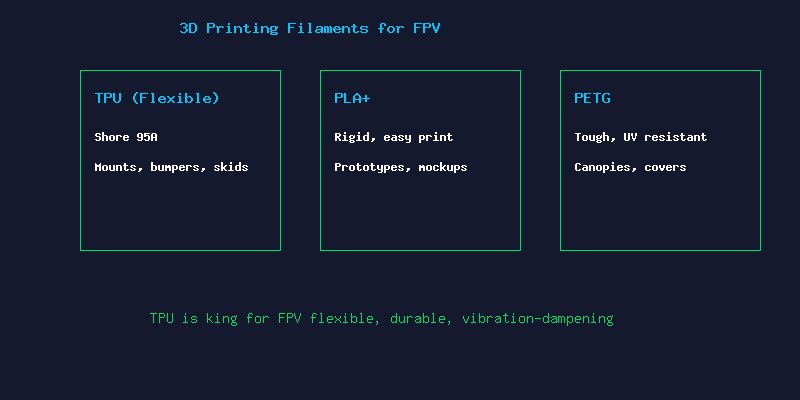
TPU (Thermoplastic Polyurethane) The FPV Standard
TPU at Shore 95A hardness is the gold standard for FPV parts. Its flexibility absorbs vibration and impact, making it perfect for GoPro mounts, antenna holders, motor wire protectors, and landing skids. TPU parts can survive crashes that would shatter PLA. Print slowly (20-30mm/s) with minimal retraction.
PLA+ Rapid Prototyping
PLA+ offers improved strength over standard PLA and prints easily on any machine. Use it for mockups, canopy prototypes, and non-structural parts. However, PLA becomes brittle under UV exposure and softens at 60C never use it for motor mounts or structural components.
PETG The Middle Ground
PETG combines decent flexibility with higher temperature resistance than PLA. It is a good choice for canopy covers and camera cages where some rigidity is needed. UV-resistant properties make it suitable for parts exposed to sunlight.
Nylon and Carbon Fiber Blends
For the ultimate in strength-to-weight ratio, nylon and CF-filled filaments like PAHT-CF deliver incredible results but require an all-metal hotend, hardened nozzle, and heated enclosure. These advanced materials are best reserved for experienced printers.
Designing FPV Frames for 3D Printing
When designing a printable frame, follow these rules:
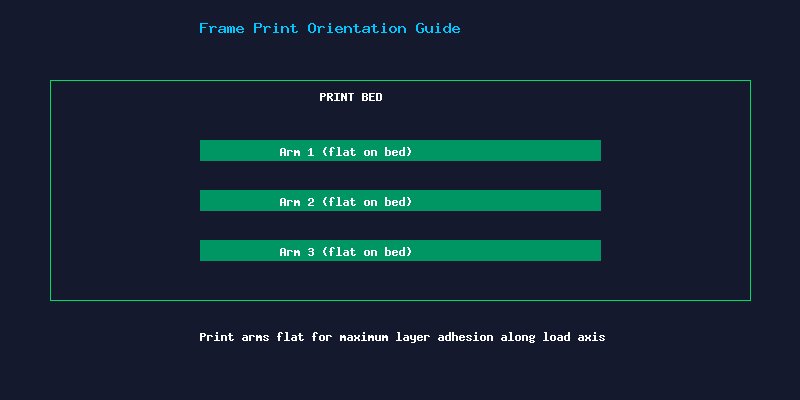
- Orient arms flat on the print bed layer lines parallel to the load direction maximize strength. Never print arms standing vertically.
- Use 4-5mm minimum thickness for arms on 3-inch quads, scaling up for larger builds. 3D printed plastic cannot match carbon fiber stiffness.
- Add fillets at every corner to distribute stress and prevent crack propagation.
- Design for standard hardware M2 and M3 bolts with press-fit nuts make assembly straightforward.
- Incorporate motor wire channels directly into the arm design for clean builds.
Realistic Expectations
Important: a fully 3D printed frame will never match the stiffness-to-weight ratio of carbon fiber. Printed frames are best suited for micro quads (under 3 inches), whoops, and experimental designs. For 5-inch freestyle quads, stick to carbon fiber frames and use 3D printing for accessories.
Recommended Print Settings
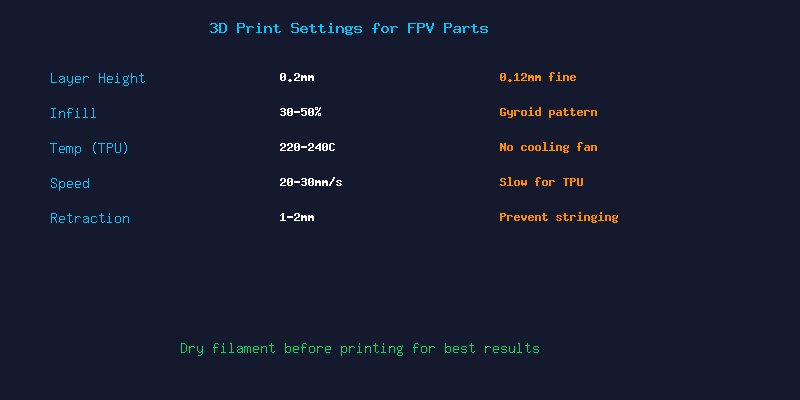
| Parameter | TPU | PLA+ |
|---|---|---|
| Nozzle Temp | 220-240C | 200-215C |
| Bed Temp | 40-50C | 55-60C |
| Print Speed | 20-30mm/s | 50-60mm/s |
| Retraction | 1-2mm @ 25mm/s | 4-6mm @ 40mm/s |
| Cooling Fan | Off or 10-20% | 100% after layer 2 |
| Infill | 30-50% Gyroid | 20-40% Grid |
Essential 3D Printed FPV Accessories
- GoPro/action camera mounts: TPU mounts with adjustable angles are the most popular FPV 3D print. Designs on Thingiverse and Printables support Session 5, Hero 8-12, and DJI Action cameras.
- Antenna mounts: TPU holders for SMA/MMCX antennas keep your VTX antenna secure and properly oriented.
- Landing skids: Protect your battery and motors on rough landings with flexible TPU skids.
- Motor wire protectors: Small TPU clips that route motor wires along the arms, preventing prop strikes.
- Battery pads and straps: Custom-fit TPU battery pads with integrated strap slots.
Printer Recommendations
For FPV work, prioritize direct-drive extruders over Bowden setups direct drive handles flexible TPU far more reliably. The Bambu Lab A1 and P1S dominate the 2026 market. Budget options include the Sovol SV08 and Creality Ender-3 V3 SE.
Conclusion
3D printing is a powerful addition to any FPV pilots toolkit. Start with TPU accessories before attempting full frame prints, invest time in learning CAD (Fusion 360 or Onshape are both free for hobbyists), and always dry your filament. The ability to design and print a replacement part in hours rather than waiting days for shipping is genuinely transformative.